Choose how to create a journey
You can create a journey in two ways:Start from scratch
Build a custom journey by manually adding and configuring each module.- Recommended for custom workflows that require specific rules and configurations.
- Gives full control over modules, routing, and evaluation logic.
Use a template
Select a pre-configured journey template that aligns with your industry or use case.- Recommended for faster setup when using common verification workflows.
- Templates include predefined modules, logic, and settings that can be customised.
Browse journey templates
If you choose to use a template, you can browse available options by accessing templates through the Create a new journey list.How to find a template
- Click the Create a new journey list.
- Select Explore templates.
- Select Browse by industry or Browse all templates.
- Use the search and filter options in Browse all templates to find a template based on:
- Vertical
- Use Case
- Country
- Assurance Level
- Capability
What’s included in a template?
When selecting a template, you will see:- A description of what the template does.
- The modules included and their functionality.
- Configuration options that can be customized.
Once a journey is created, it remains in draft mode until published.
Create your journey
There are two ways to create a journey: starting from scratch or using a template.Option 1: Start from Scratch
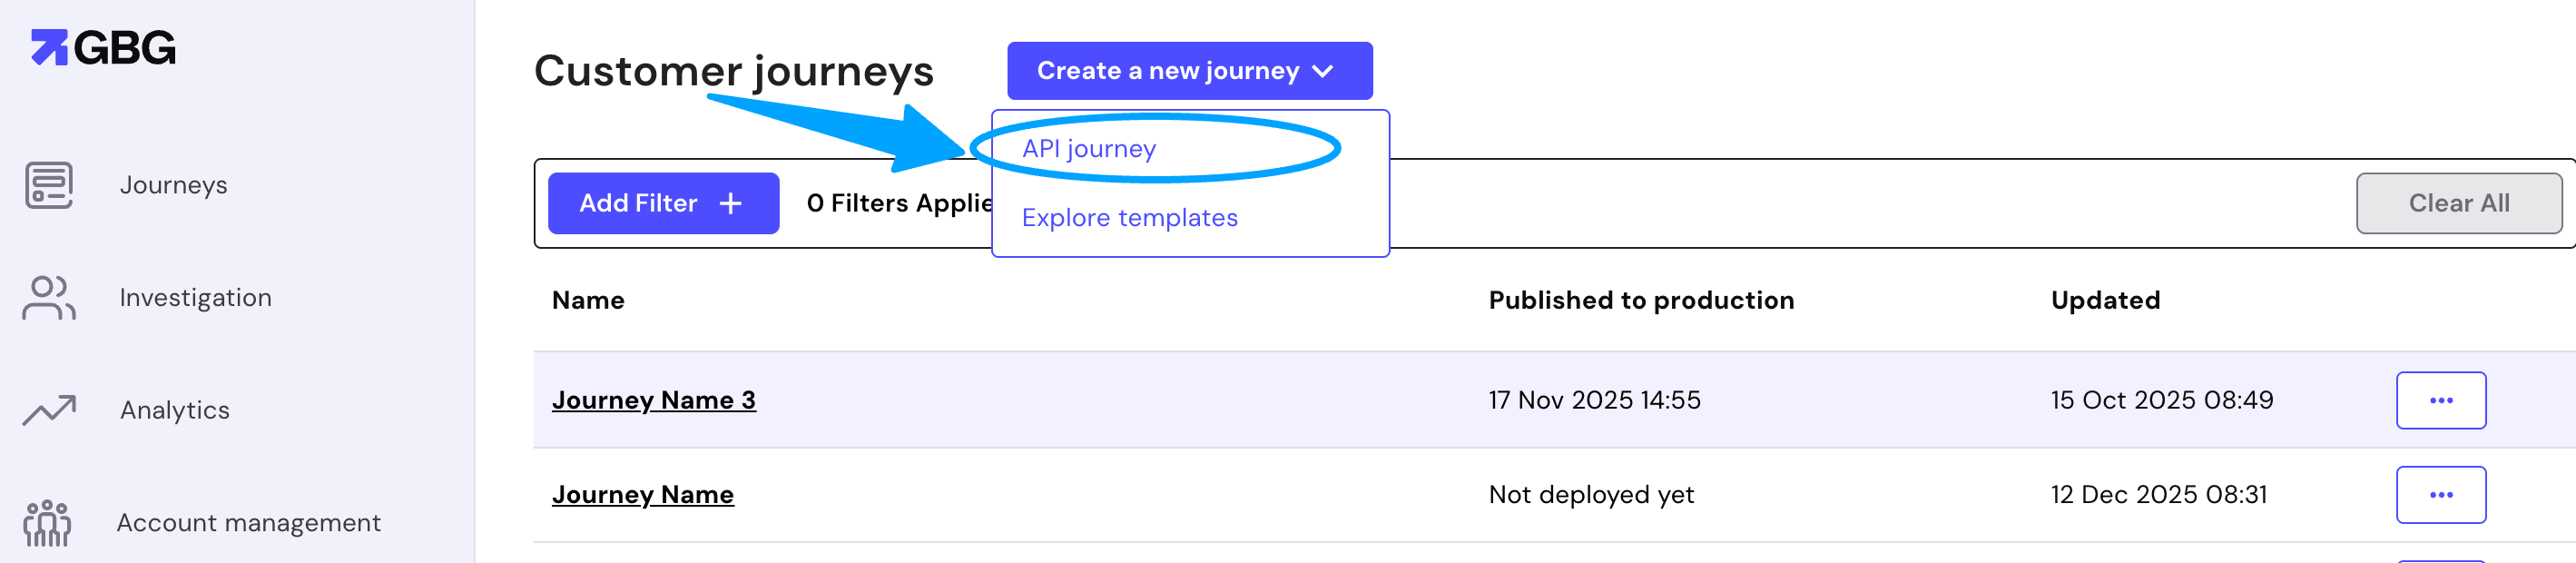
- Click the Create a new journey list.
- Select API journey to open the journey builder.
- Click the edit button besides Journey Name, and clearly rename the journey for your use case.
- Begin adding modules to define the workflow. Refer to Add modules
Option 2: Use a Template
- Click the Create a new journey list.
- Select Explore templates.
- Review the pre-configured settings and modules.
- Click Use this template to load it into the editor.
- Modify the journey by customizing modules, routing, and evaluation steps.
Filter and sort existing journeys
You can filter and sort existing journeys in the journey builder to quickly locate specific ones. Find specific journeys by applying filters based on journey names, and organize them using sorting options.Filter journeys
To filter journeys:- Log in to your GO dashboard.
- Click the Add Filter button.
- Select a filter type from the dropdown menu, for example, Journey Name.
- Enter your search keyword in the search field.
- Click Add Filter to add additional filter criteria if needed.
- Click Apply Filter to view filtered results.
- Use Clear All to remove all applied filters and return to the full journey list.
Sort journeys
You can sort the journey list to organize your journeys in ascending or descending order:- Click the three-dot menu icon on the column header you want to sort by.
- Select one of the following options:
- Sort by ASC: Sorts the column in ascending order (A-Z, oldest to newest, or lowest to highest).
- Sort by DESC: Sorts the column in descending order (Z-A, newest to oldest, or highest to lowest).
- The journey list updates to reflect your selected sort order.
- Hide column: Removes the selected column from view.
- Manage columns: Customize which columns are displayed in the journey list.
Next steps
Once your journey is created, you need to configure it by adding modules, defining decision logic, and setting routing conditions.- Configure modules – Learn how to edit journey details and add modules.
- Set up routing – Define conditions that control how users move through the journey.\
- Set up evaluation – Add decision points for approving, rejecting, or flagging users.
- Publish journeys – Deploy the journey to preview or production.