When to use module settings
Use module settings when you need to:- Specify which data fields are required for document extraction.
- Ignore certain parts of a document during classification. For example, if you only needed the module to process the front of a UK driver’s license and ignore the back.
- Turn on or off optional verification options.
Module settings apply to individual modules within a journey and can be configured differently for each module instance.
Access module settings
Module settings are available during journey configuration and can be modified after adding modules to your journey. To access module settings:- Open your journey in the journey builder.
- Click the module that you want to configure, for example, the Document Extraction module.
- Click Settings.
- Modify the available settings based on your requirements.
- Click Save all settings.
Module settings configuration examples
This section covers common examples that apply to using the settings feature for modules.Example 1: Document Extraction module settings
The settings in the Document Extraction module allow you to specify which data fields you require from the customers’ documents based on your use case. This example assumes you have the Document Extraction module present in your customer journey. To configure settings in the Document Extraction module, follow the steps below:- Open your journey in the journey builder.
- Click the Document Extraction module.
- Click Settings. A window with the available module settings appears on your screen, as shown in the image below:
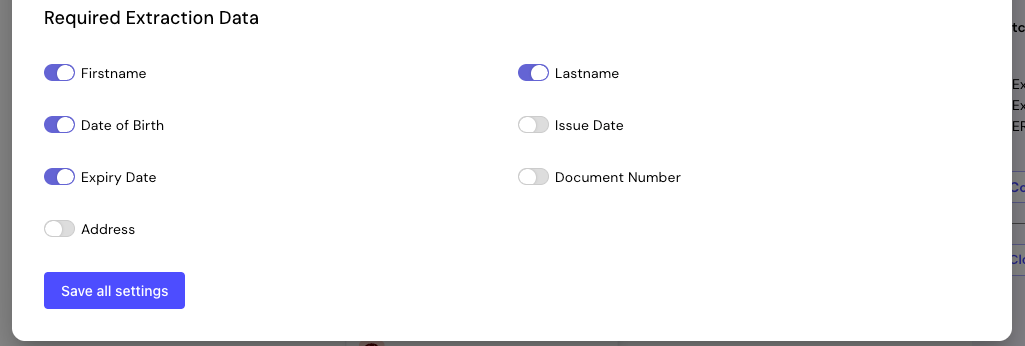
- Firstname
- Lastname
- Date of Birth
- Expiry Date
- Modify the available settings based on your requirements for document extraction.
- Click Save all settings.
Example 2: Document Classification module settings
The Document Classification module accepts both the front and back sides of documents as input. However, the settings in the Document Classification module allow you to configure which parts of a document are submitted, for example, only the front side. This example assumes you have the Document Classification module present in your customer journey. To configure settings in the Document Classification module, follow the steps below:- Repeat steps 1 through 3 from the Example 1: Document Extraction module settings section.
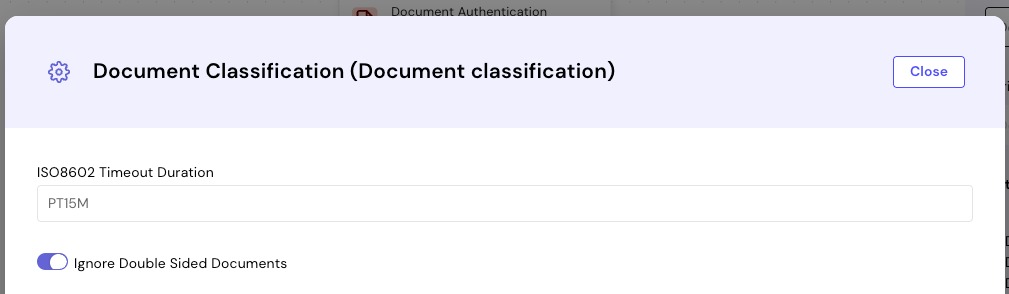
- Modify the available settings based on your requirements for document classification.
- Click Save all settings.
The Ignore Double Sided Documents setting only applies to documents that are expected to have both sides, such as driver’s licences or national ID cards. This setting does not affect single-sided documents like passports.For double-sided documents:
- When enabled: You can submit only the front of the document, and the journey will proceed to the next step.
- When disabled: You must submit both the front and back sides of the document for the journey to proceed.
- This setting has no effect on processing behaviour, since these documents only have one side by nature.
- You can submit just the single side of the document, regardless of whether this setting is enabled or disabled. The journey processes the document normally in both cases.
List of modules that support settings
The following modules currently have settings capabilities available:- Document Classification module
- Document Extraction module
- Webhook module. For more details on how to configure the Webhook module settings, see the Webhook module guide.
- Document Authentication module
- Liveness Verification module
- Facematch Verification module
At the moment, settings are exposed for only some modules. Please watch this space for documentation updates and examples as more modules have configuration capabilities exposed.